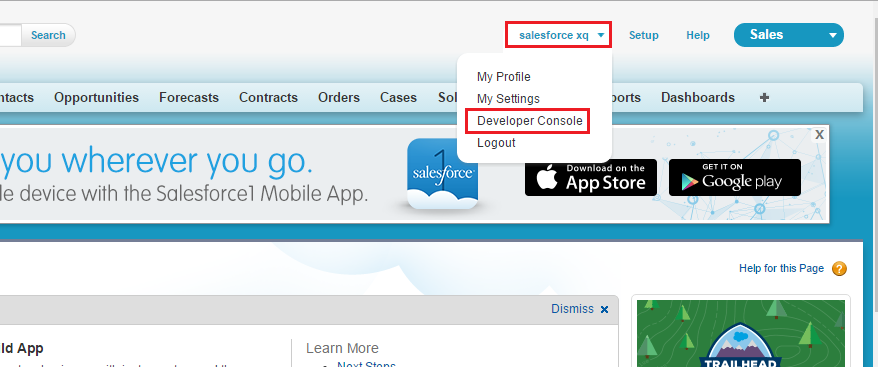
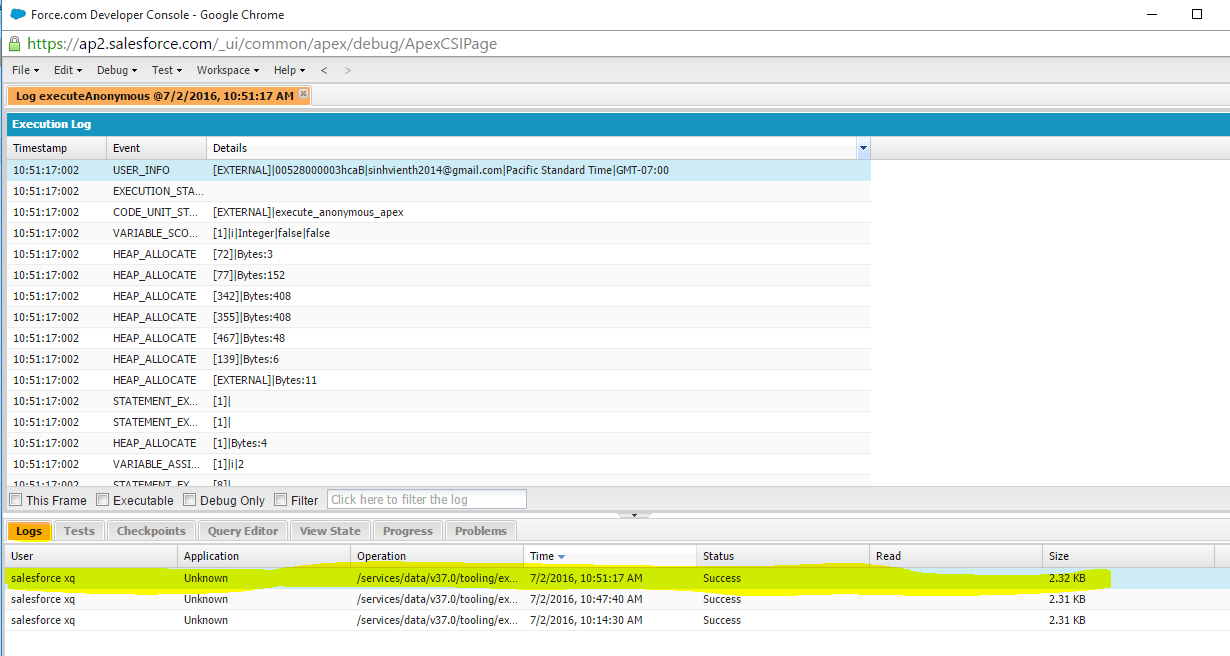
We will be utilizing Sublime Text 3 throughout our tutorial for code execution as it is simple and user friendly for learning.
1. What is MavensMate?
MavensMate is a SublimeText plugin that aims to replicate the functionality of the Eclipse-based Force.com IDE. Powerful open source tool for building Force.com IDEs. Building Force.com applications easy and fun for developers regardless of platform or text editor.
MavensMate very rich interface, color code texture, easy synchronization with force.com
Mavensmate is actually Sublime Text plugin for force.com developers, this plugin allows you to perform operations like compile apex classes, trigger, built visualforce pages, deploy apex test to server
2. Step-By-Step Guide to Install MavensMate with Sublime Text 3
Step 1: If you don’t already have Sublime Text 3, download and Install it from http://www.sublimetext.com/3
Step 2: When installation Sublime Text 3 is complete, you will Open Sublime Text 3 => Select View => Show Console to Open Sublime text Console

Step 3: Copy this python code And Paste it on the console
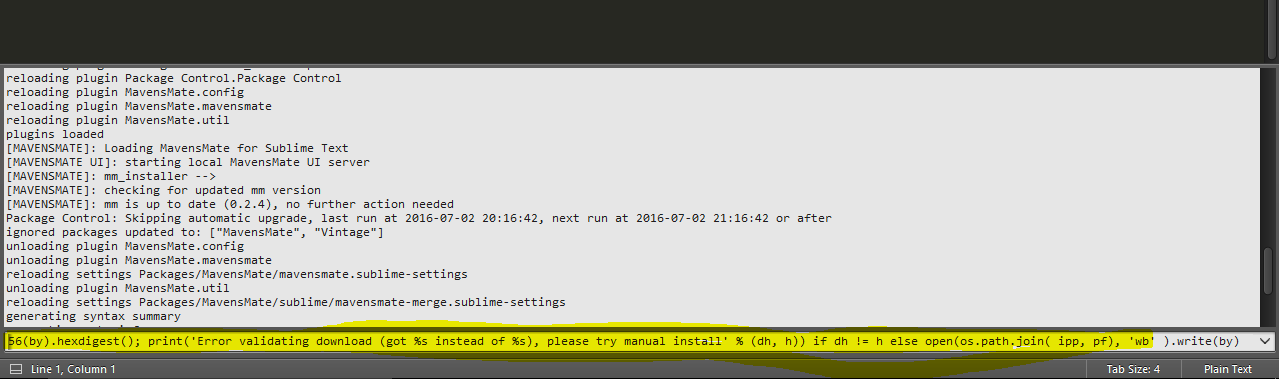
And Press Enter
Step 4: Restart Sublime Text for completing the installation.
Step 5: Go to Preferences => Package Control => Enter And Select: Install Package

Step 6: In the list of available packages => Search for MavensMate and And Select MavensMate.

Step 7: MavensMate will get installed and a welcome text will be displayed in the editor. You will also get a new MavensMate menu

Step 8: Set Workspace
Before creating a project, you have to specify the path to your workspace folder where you will be storing the project files.
Open MavensMate -> Settings -> User and search for mm_workspace. Enter the absolute path to your workspace folder (Eg: "C:\\MavensmateWorkspace") and save the settings file.

Step 9: By default, MavensMate will capture the save file operation and compile to the Salesforce.com server automatically. You can disable auto compiling on the server under Mavensmate -> Settings -> User and search and set "mm_compile_on_save" to false.

3. How to create New Salesforce Project with MavensMate In Sublime Text 3?
Now you can create your project by:
Step 1: Going to MavensMate -> Project -> New Project. A browser window will open where you need to specify your Salesforce credentials.

Step 2:
+ Input "Project Name"
+ Input "Salesforce.com Username"
If you don't have account on Salesforce developer, CLICK HERE (How to Create Salesforce Developer Account?)
+ Input "Salesforce.com Password" (with password+SecurityToken if have Security Token).
If you do not have your Salesforce security token, you will should reset it. To do this Click Here to Get or Reset Your Security Token - Salesforce
+ The Advanced tab allows you to customize the metadata subscription list
+ The Project Metadata tab allows you to choose the components to be downloaded.

Click Create Project

Step 4: You can create Apex classes, Apex Triggers, Visualforce Pages, ...
You can perform Apex testing, compilation and debugging directly from MavensMate.

Step 5: If you want to get last changes from Force.com server
+ Right Click => MavenMate => Refresh From Server

Step 6: Save code to sever:
+ Right Click => MavenMate => Compile Selected Files OR Ctrl + Shift + S
MavensMate IDE works faster than Eclipse and deploy the components directly to the salesforce server.
Syntax highlighting and code completion features is very useful during application development.
1. What is MavensMate?
MavensMate is a SublimeText plugin that aims to replicate the functionality of the Eclipse-based Force.com IDE. Powerful open source tool for building Force.com IDEs. Building Force.com applications easy and fun for developers regardless of platform or text editor.
MavensMate very rich interface, color code texture, easy synchronization with force.com
Mavensmate is actually Sublime Text plugin for force.com developers, this plugin allows you to perform operations like compile apex classes, trigger, built visualforce pages, deploy apex test to server
2. Step-By-Step Guide to Install MavensMate with Sublime Text 3
Step 1: If you don’t already have Sublime Text 3, download and Install it from http://www.sublimetext.com/3
Step 2: When installation Sublime Text 3 is complete, you will Open Sublime Text 3 => Select View => Show Console to Open Sublime text Console
Step 3: Copy this python code And Paste it on the console
import urllib.request,os,hashlib; h = '2915d1851351e5ee549c20394736b442' + '8bc59f460fa1548d1514676163dafc88'; pf = 'Package Control.sublime-package'; ipp = sublime.installed_packages_path(); urllib.request.install_opener( urllib.request.build_opener( urllib.request.ProxyHandler()) ); by = urllib.request.urlopen( 'http://packagecontrol.io/' + pf.replace(' ', '%20')).read(); dh = hashlib.sha256(by).hexdigest(); print('Error validating download (got %s instead of %s), please try manual install' % (dh, h)) if dh != h else open(os.path.join( ipp, pf), 'wb' ).write(by)
And Press Enter
Step 4: Restart Sublime Text for completing the installation.
Step 5: Go to Preferences => Package Control => Enter And Select: Install Package
Step 6: In the list of available packages => Search for MavensMate and And Select MavensMate.
Step 7: MavensMate will get installed and a welcome text will be displayed in the editor. You will also get a new MavensMate menu
Step 8: Set Workspace
Before creating a project, you have to specify the path to your workspace folder where you will be storing the project files.
Open MavensMate -> Settings -> User and search for mm_workspace. Enter the absolute path to your workspace folder (Eg: "C:\\MavensmateWorkspace") and save the settings file.
Step 9: By default, MavensMate will capture the save file operation and compile to the Salesforce.com server automatically. You can disable auto compiling on the server under Mavensmate -> Settings -> User and search and set "mm_compile_on_save" to false.
3. How to create New Salesforce Project with MavensMate In Sublime Text 3?
Now you can create your project by:
Step 1: Going to MavensMate -> Project -> New Project. A browser window will open where you need to specify your Salesforce credentials.
Step 2:
+ Input "Project Name"
+ Input "Salesforce.com Username"
If you don't have account on Salesforce developer, CLICK HERE (How to Create Salesforce Developer Account?)
+ Input "Salesforce.com Password" (with password+SecurityToken if have Security Token).
If you do not have your Salesforce security token, you will should reset it. To do this Click Here to Get or Reset Your Security Token - Salesforce
+ The Advanced tab allows you to customize the metadata subscription list
Step 4: You can create Apex classes, Apex Triggers, Visualforce Pages, ...
You can perform Apex testing, compilation and debugging directly from MavensMate.
Step 5: If you want to get last changes from Force.com server
+ Right Click => MavenMate => Refresh From Server
Step 6: Save code to sever:
+ Right Click => MavenMate => Compile Selected Files OR Ctrl + Shift + S
MavensMate IDE works faster than Eclipse and deploy the components directly to the salesforce server.
Syntax highlighting and code completion features is very useful during application development.